
My .454 Freedom Arms That Wasn’t Mine
Back in 1996, my friend Steve Rudiger asked me about engraving a handgun for him. He wanted one that he could use for bear protection while hunting with me here in Alaska. Steve’s taste in firearms has always leaned towards high quality, so he asked me what I considered the best candidate for engraving. “First,” I responded, “there is Colt, who makes the very good quality Single Action Army. The finest revolver I know of is built by Freedom Arms. It’s a cross between a Swiss watch and a Sherman tank.”
Steve was intrigued and started some research on Freedom Arms. At that time, I didn’t have one in my own collection. However, they were common enough here in Alaska that I knew we could find one for him to examine the next time he came up to hunt with me.
One of my friends who ran a small gun shop eventually ended up with a used one in excellent condition for a reasonable price. I bought it from him for Steve’s project revolver. My instructions from Steve included that I was to engrave it as if it were mine.
After careful polishing, I began laying out the pattern. I’ve always had a fondness for small English scroll, probably because I’d seen it used on the highest quality English shotguns and rifles. With this as a basis, I began working on the pattern.
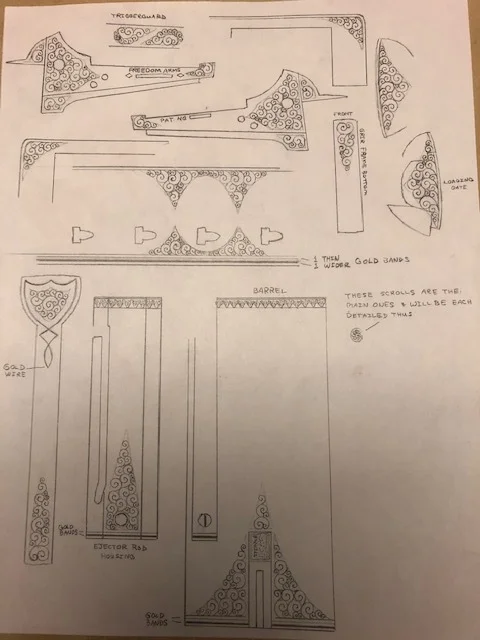
To be done correctly, English scroll should have open areas, so the eye doesn’t simply see the fine engraving as a texture. One of my mentors described full coverage English scroll as foolish – “You might as well just sandblast it!” I kept that in mind when I did my drawings.
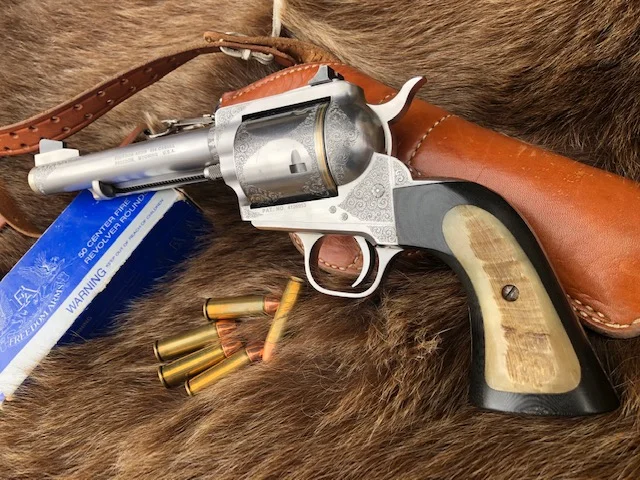
For interest, I planned to add a wide and a narrow band of gold around the rear of the cylinder and the barrel muzzle. When I began inlaying the gold, I ran into trouble. The technique I was taught for inlaying gold requires that, after the original groove is cut, undercuts are made to each side producing a mechanical lock that would look like a dovetail in cross section. The 24K gold wire is then gently hammered and burnished into the dovetail. I had my dovetail prepared, but the gold simply would not go in. I can assure you, sweat was pouring off my forehead! I simply HAD to make this work somehow, as I couldn’t go back. After some careful thought, I tried a slightly different technique, and low and behold, it WORKED! The process is a bit long to describe here, but I have used it a number of times since when the same problem has risen.
Let me say here that Freedom Arms revolvers are tempered to a level above most others because the pressures generated by the .454 Casull cartridge are so high. Trust me, I fought that tiny scroll so much I swore I’d never do one for myself! Since then I’ve developed some processes that make engraving stainless steel much easier.
Part of the pattern includes a rather simple border around the barrel just ahead of the revolver’s frame. I’ve done this same thing on a few revolvers since then, and strangely enough, I’ve received more interest and complements on that border than some of the more complex parts. Go figure.
If memory serves, I got out of proper sequence on doing the grips. I hate spending the time to make grips any more, preferring to spend my time engraving. I had to take extra care to not damage the engraving as I shaped the grips with a file, then sanded them smooth. The grips should have been done before the engraving. Once the micarta portions were completed, I inlaid some Dall sheep horn into each one.
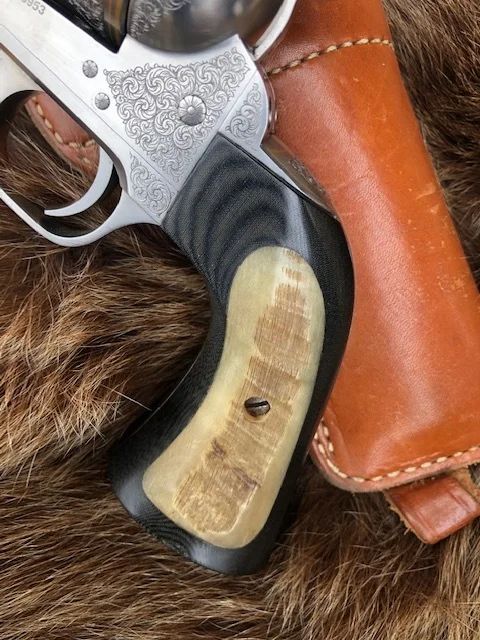
Sheep hunting has been a favorite passion and pastime for many years here in Alaska, so if the job was to be as I’d do it for myself, sheep horn would have to be included. I’ve always liked the texture of sheep horn or stag antler showing the ‘bark’ or outer portions. Otherwise from my perspective, you might as well use domestic sheep or cow horn. Without the bark – horn is just horn to me. I carefully chose appropriate pieces of outer horn and inlaid them.
Steve was very pleased with both the job and the gun itself when completed. I was a bit envious, as I decided as I mentioned before, I wouldn’t go through that again for myself! He’s carried it with him on many Alaskan hunts. Since he’s not a resident of Alaska, he cannot hunt sheep, grizzly or brown bear, or mountain goats without a guide, which I am not. Being the good friend he is, he’s often gone along with me on various hunts just for the experience. He’s carried the .454 primarily for protection, but once took a nice bull caribou with it down on the Alaskan peninsula. The last part of this tale took place on one of my sheep hunts.
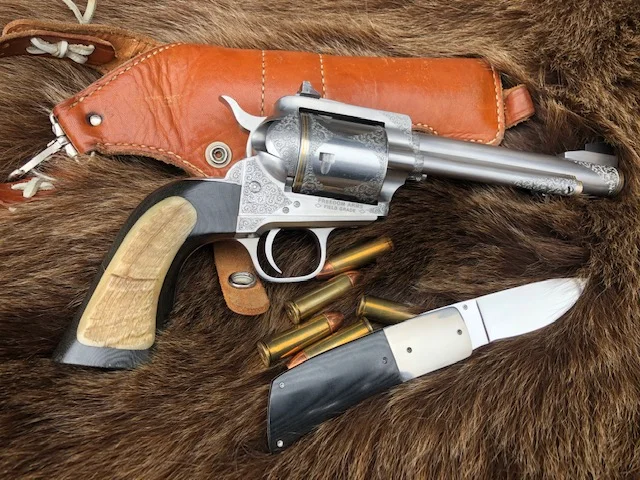
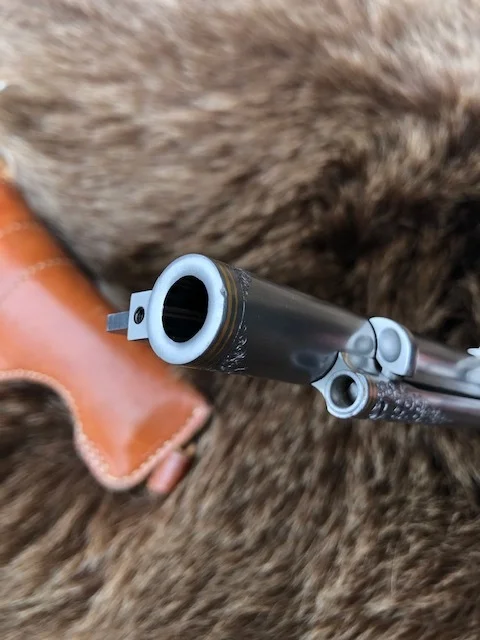
He had rigged up an inexpensive nylon cordura holster on his pack frame belt. This gave him easy, comfortable access if it was needed. We stopped to take a break, and when he sat down, he unbuckled the pack belt to stand up and stretch a bit. The holster we rigged up was too short for the gun, so the muzzle projected past its end. He’d forgotten its exposure, and when it dropped down to the ground, the muzzle struck a jagged rock, putting a nice big ding on it. Such a howl he set up! I, of course, didn’t feel a bit compassionate and found it humorous (dings such as that are a part of life). Once we returned home, I was able to reduce the damage some, but since the gold bands were so close, there was only so much to be done. We still laugh about it when he carries it!
And yes, I did eventually acquire a Freedom Arms .454 of my own, and yes, I engraved it with a similar pattern. I did draw the line at making a set of grips like his!